Drywall Installation by Mission Trueplane Drywall
Professional Quality Services
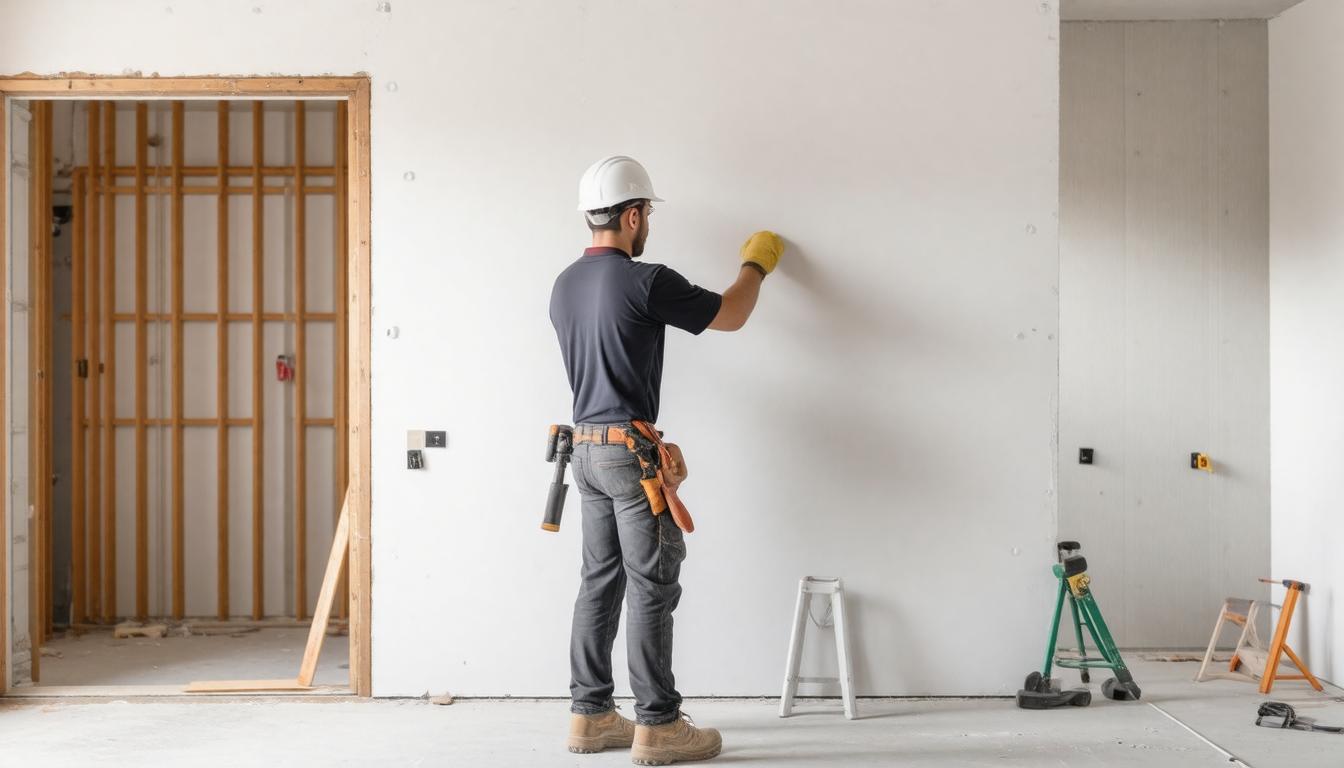
When you’re ready to improve your home or business space, getting drywall installed right is a big deal. It’s not just about putting up boards; it’s about building smooth, strong walls that last and look great. Mission Trueplane Drywall knows the ins and outs of this process and is here to make sure your drywall project goes smoothly from start to finish. Let’s dive into what makes their work stand out and how they help bring any wall to life with professionalism and care.
For reliable drywall installation services in Mission, companies like Mission Trueplane Drywall offer expert craftsmanship and timely service tailored to your residential or commercial project, including taping services. To ensure quality results, choose a local drywall business with verified experience and positive customer reviews.
Essential Tools for Drywall Installation
The foundation of any successful drywall installation lies in selecting tools, like a drywall square, that blend precision with durability. High-quality drywall sheets—like those Mission Trueplane Drywall uses—form the backbone of your walls, ensuring strength and a smooth surface for finishing. It’s tempting to cut corners here, but using subpar materials can lead to warping or crumbling down the road.
Alongside quality drywall, your cutting instruments must be sharp and reliable. A utility knife is indispensable for scoring drywall sheets; dull blades risk ragged edges, making seams more visible after taping. Investing in blades designed specifically for drywall ensures cleaner cuts and less effort.
For areas requiring detailed openings—for instance, around electrical outlets or vents—a jab saw or drywall saw becomes essential. These tools allow you to navigate tight curves and corners with control, preventing damage to surrounding areas.
A drywall T-square may seem like a simple measuring tool, but its role in accuracy cannot be overstated. Using a T-square tailored for drywall lets you mark straight lines quickly, reducing mistakes that might otherwise show through the final paint job. Straight edges set the tone for a seamless wall face.
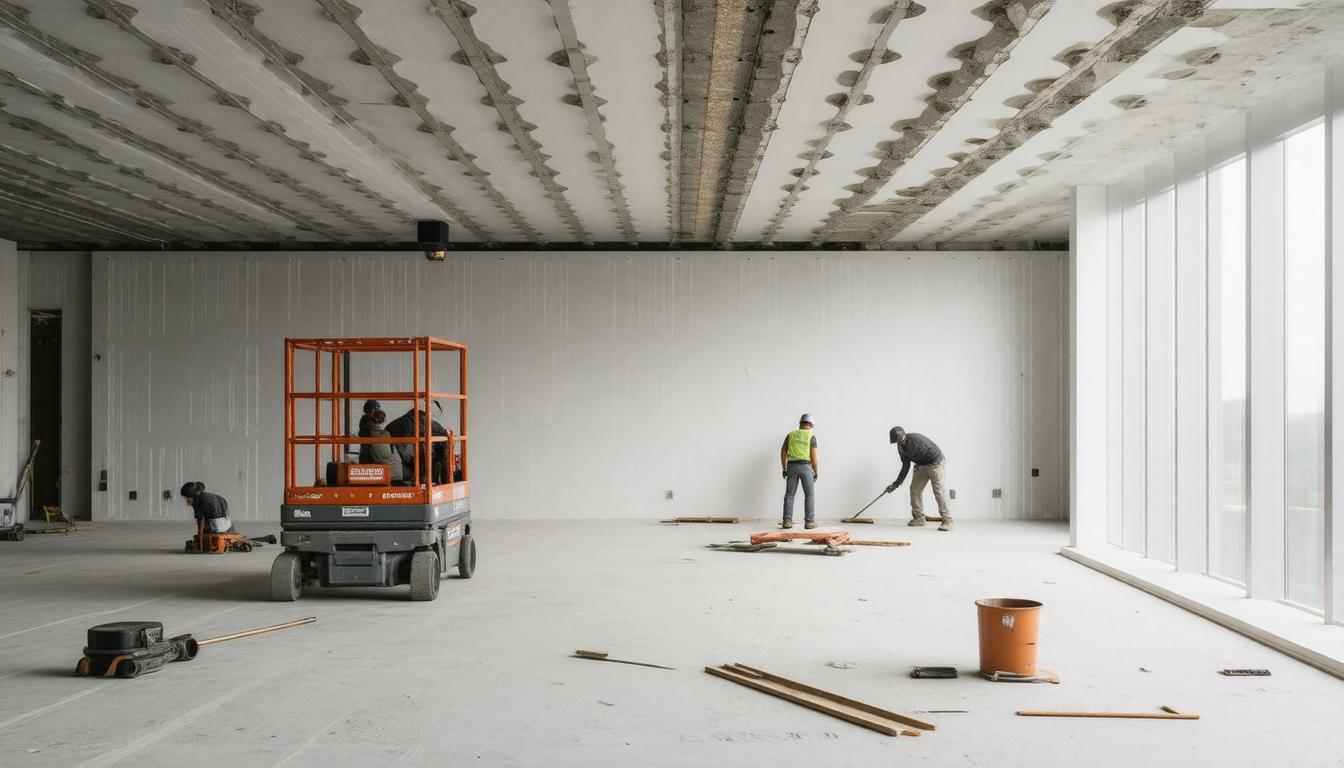
Moving beyond handheld tools, drywall lifts are game-changers when working on ceilings or large wall sections. These lifts not only ease the physical strain of lifting heavy gypsum boards but also improve safety by stabilizing the sheet during installation. Even if you have helpers, a lift provides consistency in positioning that human hands can’t replicate over extended periods when installing drywall on the walls.
Holding these tools together is more than just efficiency; it’s about respecting the craftsmanship and ensuring each sheet fits perfectly to create walls that last without cracks or gaps.
Once equipped with these essential tools, attention naturally turns to preparing your surfaces thoroughly—laying the groundwork for impeccable adhesion and finishing that define professional drywall work.
Surface Preparation Techniques
Proper surface preparation is often the unsung hero of quality drywall installation on walls and ceilings. It’s not just about slapping boards onto a wall; it’s about creating a foundation that guarantees durability and a smooth finish.
The first essential step involves cleaning the surface thoroughly. Dirt, dust, and debris may seem benign, but when left on studs or sub-surfaces, they act like a barrier—preventing screws from gripping properly and mud from adhering evenly. At Mission Trueplane Drywall, we never underestimate this step because even the tiniest speck can throw off an entire project.
After cleaning, marking precise cut lines and stud locations on the framing isn’t merely about convenience—it’s critical for accuracy. Imagine working in low light or cramped spaces without clear guides; the risk of misalignment skyrockets. By taking a few extra minutes here, you save hours of frustration later while ensuring every panel fits snugly and securely.
Checking for levelness is next, revealing hidden imperfections that could ripple through your finished wall.
Using a level to assess studs and floors might sound basic, yet it’s an absolute necessity when installing drywall on walls. Walls aren’t always perfectly straight or plumb—especially in older homes—and that unevenness will show through if left uncorrected. With shims or a planer, you can achieve uniform flatness that prevents future cracks or ridges once mudded and painted, ensuring a smooth finish for your sheet of drywall.
A quick tip we’ve leaned on at Mission Trueplane Drywall: Invest time inspecting corners and transitions with laser levels if possible, especially when placing drywall. These modern tools add a layer of precision that handheld levels can miss, especially over longer distances.
Early in our drywall journey, skipping detailed prep led us down a tedious path of sanding and patching fixes. Over time, we realized that investing upfront in surface prep doesn’t just improve quality—it speeds up the whole process by reducing rework. That lesson reshaped how we approach every job, turning good installations into exceptional ones.
Mastering these foundational techniques sets the stage for installing drywall panels flawlessly—a task we'll explore next with a step-by-step guide on each step involved in the installation process.
Step-by-Step Installation Guide
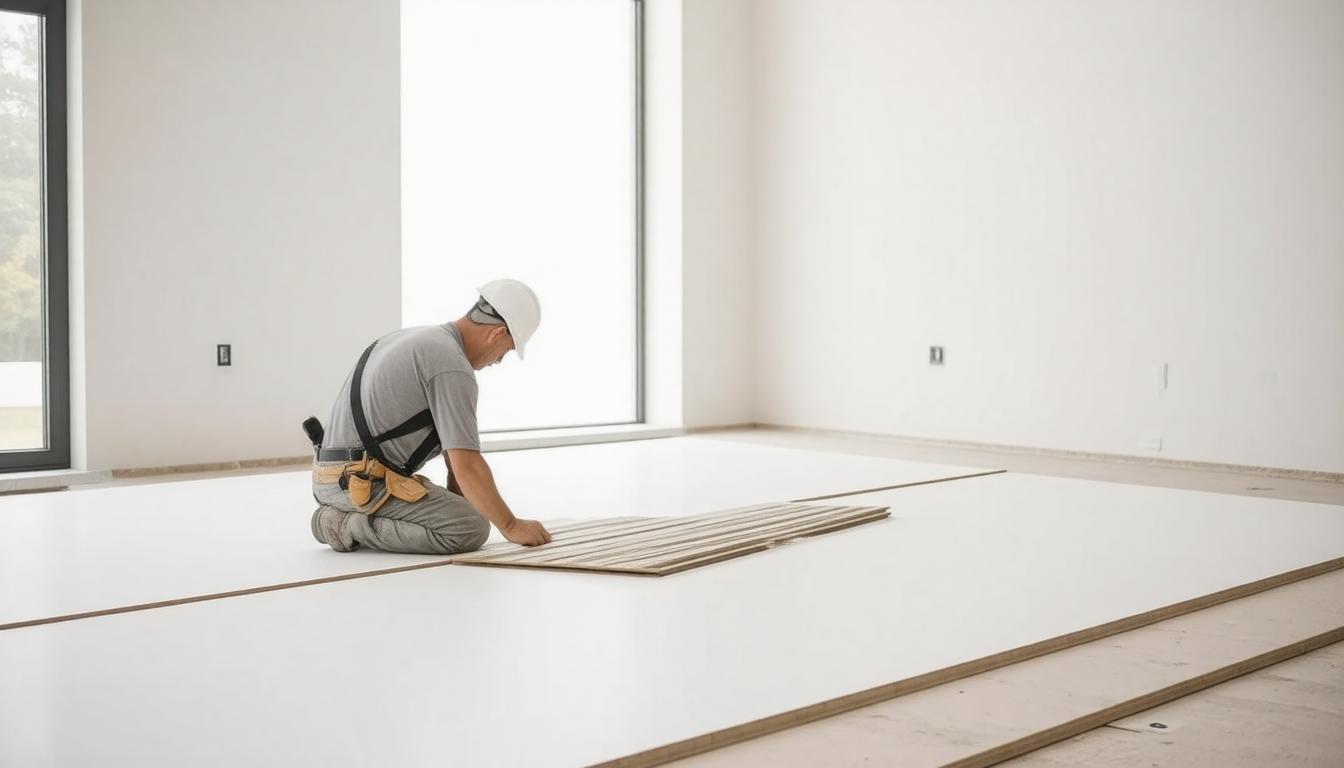
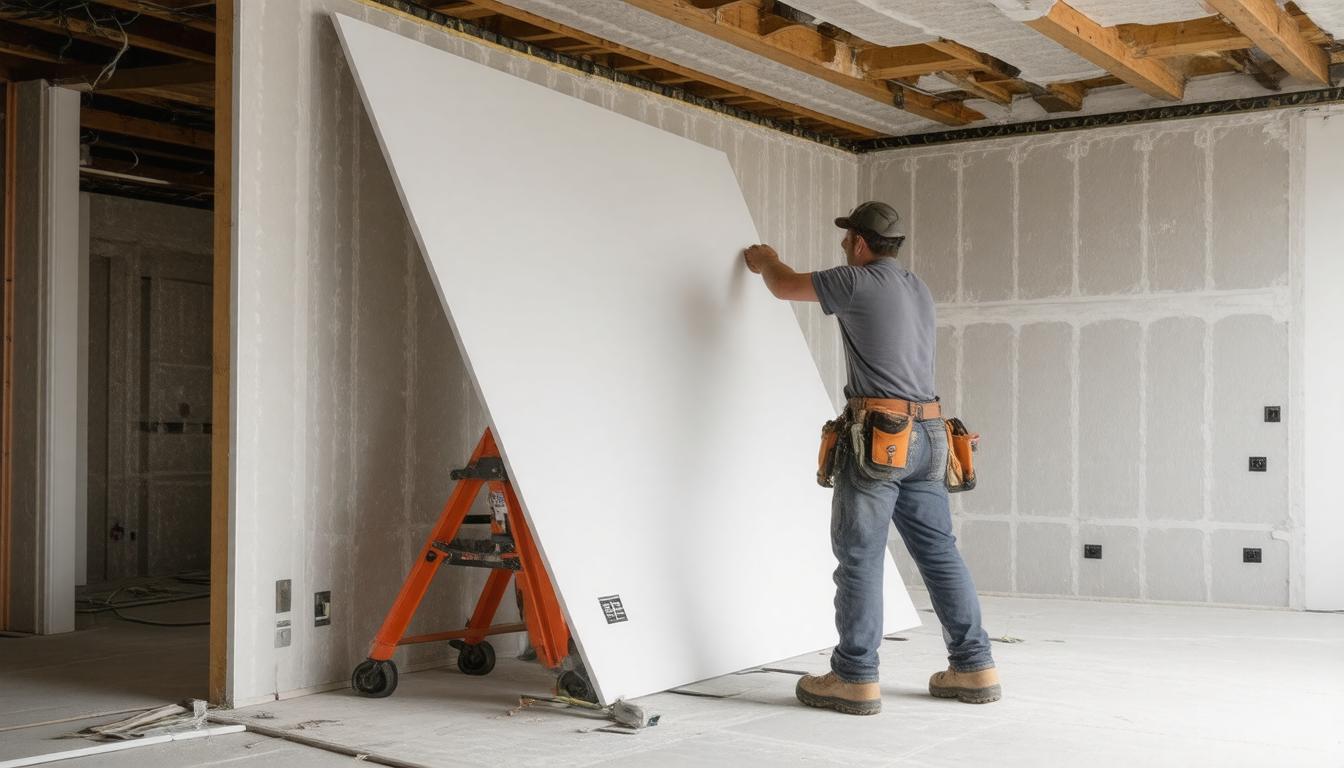
The key to an efficient drywall installation lies in methodical execution. Start by carefully measuring the height and width of each wall section—you'll want to know these dimensions down to the inch before you hang drywall. It sounds simple but trust me, even seasoned pros double-check their measurements because cutting a panel too short or too long can lead to wasted materials and delays. Always remember to measure twice and cut once, especially when working around electrical boxes.
Once you have your measurements, it’s time to tackle the drywall sheets themselves. Using a sharp utility knife paired with a straightedge, score the paper face along your measurement line, then snap the sheet cleanly along the scored line. This technique produces a neat edge which fits snugly when you place the boards side by side. Cutting drywall may seem straightforward, but maintaining those clean edges with a drywall rasp makes finishing work so much easier later on.
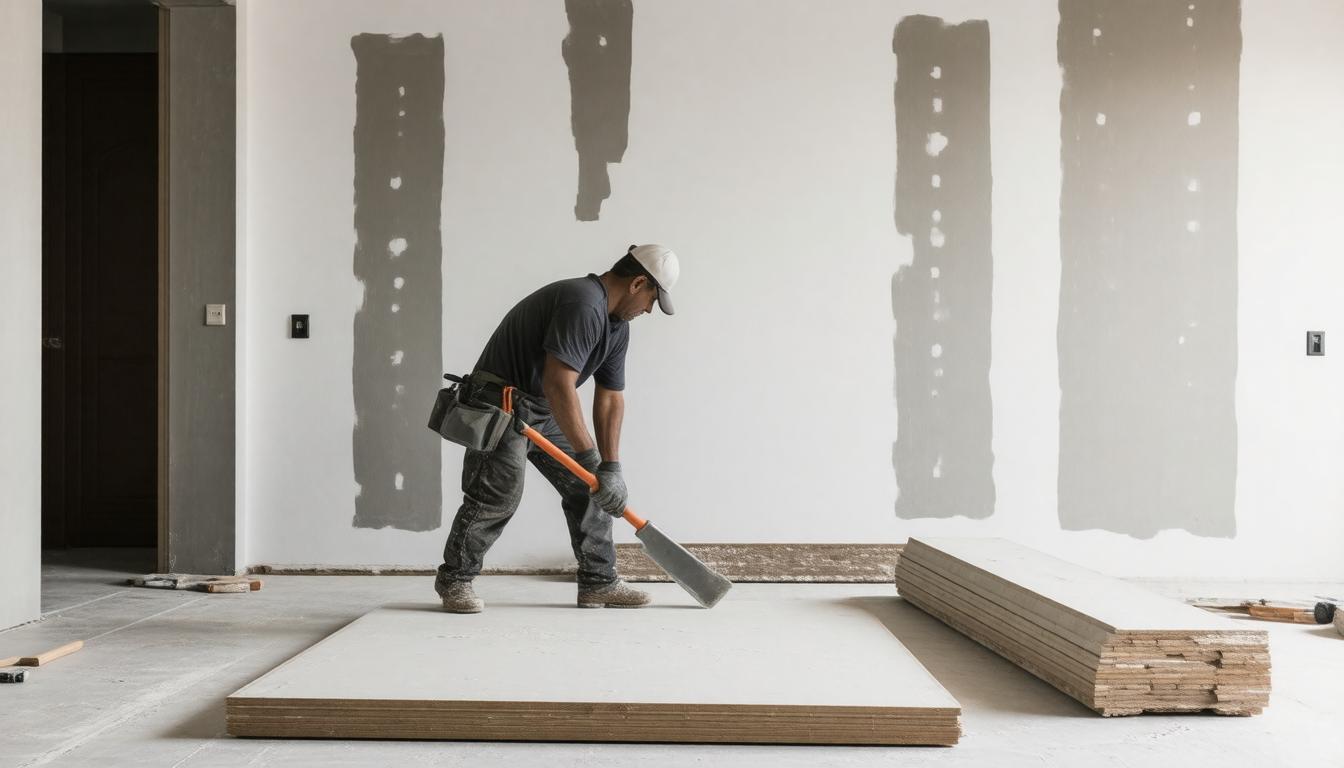
After cutting comes securing the drywall firmly in place—this step demands both patience and attention to detail.
Begin fastening the drywall sheets to your studs using drywall screws rather than nails—screws provide better hold and reduce popping over time. An essential tip is keeping screws spaced about 12 inches apart along each stud; too wide and your panels might flex, too close and you risk weakening the board. Driving screws just beneath the surface without breaking the paper facing is equally important—you want them sunk slightly so joint compound can cover each head seamlessly without gouging the surface.
As you fix each sheet, make sure that adjoining panels line up evenly at their seams. Gaps or uneven edges will complicate taping and mudding later, particularly around electrical boxes. If any pieces are ill-fitting, don’t hesitate to trim or adjust before moving on—precision here pays dividends down the road.
With panels securely attached, it’s time for taping, a crucial step that transforms raw joints into smooth walls.
Apply drywall tape centered directly over every seam between panels. Proper placement ensures joints are fully covered and ready for mud application. For taped corners or inside angles, use flexible mesh tape designed especially for such areas; it adheres better around curves and prevents cracking after drying.
Take your time smoothing out air bubbles or wrinkles as you apply the tape—any imperfections trapped beneath compound will show through once painted. Getting this right early saves hours of sanding later and results in more professional-looking walls.
Finally, we move to mudding—the process that truly finishes your drywall installation by creating an even surface on the drywall on the walls.
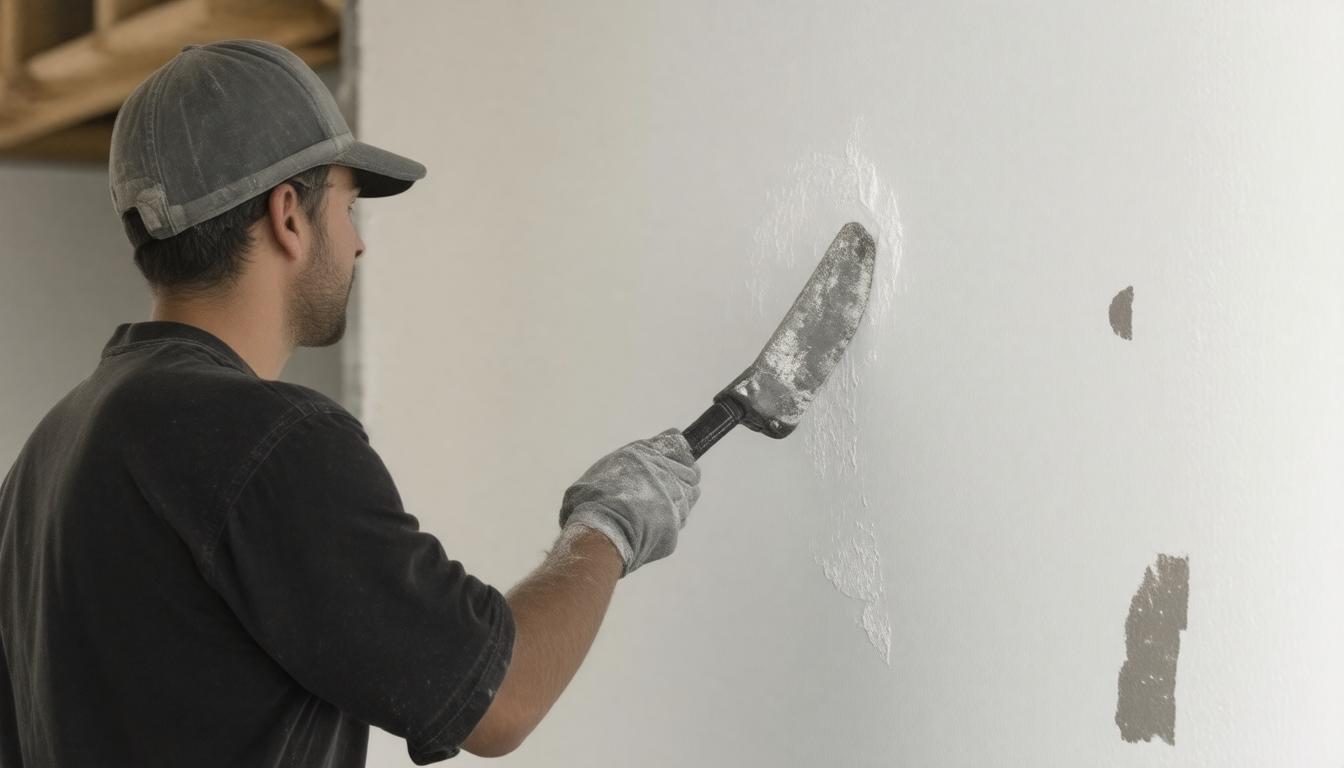
Using a broad drywall knife, spread thin layers of joint compound over the taped seams. It’s common for beginners to apply too thick a layer initially; resist this temptation. Instead, build up multiple thin coats allowing plenty of time for each coat to dry completely before applying the next. This staged approach minimizes cracking and produces a flawlessly smooth finish.
Feathering out each layer beyond the tape’s edges helps blend seams into surrounding surfaces invisibly. Sand lightly between coats with fine-grit sandpaper to remove ridges or bumps—remember gentle strokes here preserve your hard work instead of scratching it away.
Following these careful steps patiently may take time but results in walls that stand firm and look crisp for years to come. At Mission Trueplane Drywall, we believe quality begins with attention to every detail throughout installation—and ensuring these fundamental techniques are mastered is the first step toward flawless finishing.
Mastering the installation process is essential, yet it forms only part of what guarantees a lasting finish. Equally important is how these efforts are evaluated and maintained through rigorous standards focused on durability and aesthetics.
Quality Assurance by Mission Trueplane Drywall
At Mission Trueplane Drywall, quality assurance isn’t just a final step—it’s an ongoing commitment throughout the entire drywall installation process. We understand that true craftsmanship lies in the details and that the longevity of your walls depends heavily on meticulous inspections.
After all, drywall may seem like straightforward panels on a wall, but proper installation determines how well your surfaces will hold up over time, resist cracks, and provide the smooth foundation necessary for paint or wallpaper.
Our inspection protocol revolves around three core checkpoints, each designed to catch common pitfalls before they become problems.
First, we perform a thorough seam check. Seam work is where drywall often falters—the taping and mudding must be flawless to prevent future cracking or visible lines.
Our experts meticulously examine each joint to guarantee full coverage with no gaps or bubbles, ensuring both strength and visual perfection.
Beyond the seams, structural integrity is paramount. We verify that every drywall sheet is securely fastened to studs using the correct number and placement of screws or nails.
This step prevents sagging or detachment over time and reduces noise transmission through walls. It also means your walls maintain their shape and resilience even under stress from normal household activities.
Finally, surface smoothness is our signature touch. This goes beyond mere appearance; smooth and level surfaces are essential for any finishing work afterward.
Our team inspects for any imperfections such as bumps, ridges, or uneven textures that can distract from a polished room.
Achieving this requires skilled sanding, sometimes in multiple passes, combined with careful application of joint compound to create that flat canvas every homeowner wants.
A key insight from years of experience: investing time in these rigorous quality controls saves you money down the road by minimizing the risk of repairs due to cracking or uneven surfaces.
Inspection Protocol Details
- Seam Check: Look out for any visible separation, air pockets beneath tape, or inconsistencies in mud thickness.
- Structural Integrity: Confirm fasteners are flush with the board without overdriving and that sheets are properly aligned without warping.
- Surface Smoothness: Use both visual inspection and tactile feedback—running a hand over the surface usually reveals flaws invisible to the eye alone.
For homeowners considering DIY drywall work or hiring another contractor, keep these three checkpoints in mind when evaluating quality.
A quick glance might not reveal subtle issues that can impact durability and finish quality.
By embedding these detailed quality checks into every project, Mission Trueplane Drywall guarantees results that do more than satisfy—they endure. This steadfast commitment sets the foundation for exploring advanced techniques that perfect the final stage of your drywall's transformation.
Final Finishing Techniques
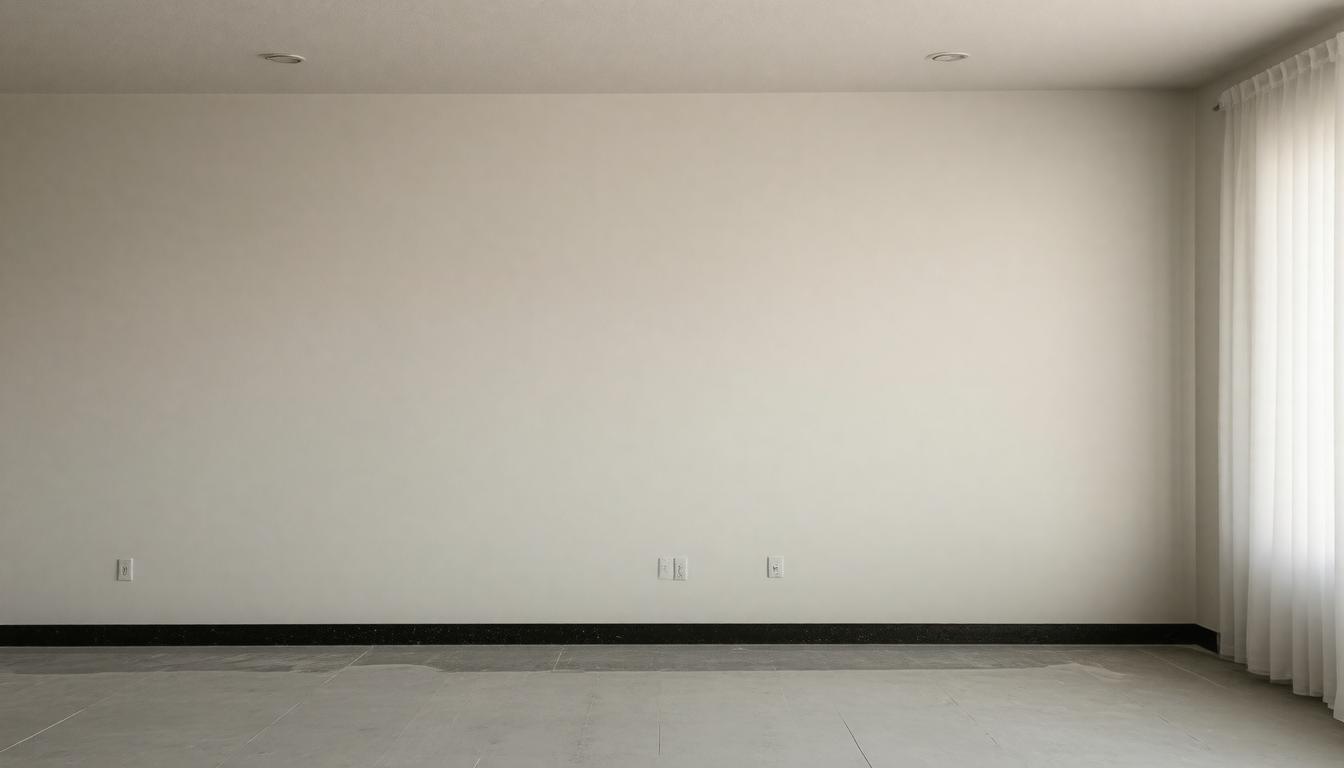
The journey to a flawless drywall installation culminates in the final finishing steps—sanding, priming, and painting—each contributing to a polished, professional look. The process starts with sanding, which is more than just smoothing the surface; it's about preparing the drywall so that lighting hits evenly, avoiding any unwanted shadows or bumps that draw attention.
Using fine-grit sandpaper gently across the dried joint compound ensures you don't over-sand and thin out the seams, which can lead to weak spots later on.
Sanding demands patience and a keen eye because imperfections here will magnify after priming and painting. We often emphasize starting with a light touch, followed by inspection under bright light to catch subtle irregularities. Using a sanding block helps maintain even pressure, preventing uneven surfaces that would disrupt the final finish.
Plus, wearing a mask during this step is vital—not just for comfort but for safety—since drywall dust can be quite fine and irritating.
Once sanding’s done comes priming, an often underestimated yet indispensable step that sets the stage for vibrant, lasting paint.
Priming the drywall serves as both a sealant and a base coat. It seals porous areas exposed through sanding, which otherwise could cause paint to soak in unevenly and demand multiple coats. A well-applied primer also enhances adhesion for the paint, ensuring it bonds properly and resists peeling or flaking over time.
When applying primer, a roller is typically preferred for broad walls to achieve an even coat without streaks, while edges and corners benefit from careful brushwork around doors and windows.
One insider tip is to use a primer with stain-blocking properties if you're covering patched areas or repairs. This helps prevent bleed-through from any underlying discolorations or marks, maintaining a consistent color after painting.
Equally important is letting the primer dry thoroughly before moving on—rushing this step might trap moisture or cause the paint layer to peel prematurely.
Primed and prepared, your drywall now awaits its final transformation through painting.
Painting is where personal taste meets craftsmanship. Selecting high-quality paints tailored to the room’s function—the durability of kitchen or bathroom paints versus softer finishes for bedrooms—plays a significant role in longevity and appearance. Lighting conditions should guide your color choice; darker colors may need additional coats to achieve full coverage over primer, while lighter shades can accentuate imperfections if not applied diligently.
It’s worth investing time in applying multiple thin coats rather than one heavy one. Thin layers minimize drips and help achieve a uniform finish. Using synthetic-bristle brushes or high-density rollers suited to your paint type ensures an even application without texture inconsistencies.
Finally, allowing ample drying time between coats preserves the integrity of each layer.
"The secret to outstanding drywall finishes lies in respecting each step—no shortcuts—and applying care with an artist's precision at every stage."
This meticulous approach is what distinguishes professional drywall work performed by Mission Trueplane drywall from average installations, especially in the types of drywall used.
Understanding these finishing nuances highlights why selecting the right service provider matters deeply, particularly when it comes to installing drywall on the walls. Up next, let's examine what qualities make that choice clear and trustworthy.

Why Choose Mission Trueplane Drywall
Choosing a drywall contractor is more than just hiring someone to hang sheets of gypsum board. It’s about entrusting your home or business to a company that delivers consistent quality, respects your schedule, and values clear communication. Mission Trueplane Drywall understands these priorities deeply, which is why so many clients return to us for their projects and recommend us to friends.
One of the most compelling reasons to select Mission Trueplane Drywall is our commitment to customer satisfaction. We don’t believe in cutting corners; we believe in honest work and transparency. From the first phone call through project completion, you’ll notice how attentively we listen to your needs and concerns. This approach cuts down on surprises and allows us to tailor our work specifically to your vision and requirements.
Beyond customer care, competitive pricing often plays a major role in decision-making when hiring contractors.
Mission Trueplane Drywall offers competitive pricing, but not at the expense of quality. We balance affordability with premium materials and expert craftsmanship—something often overlooked in low-budget bids that promise savings but deliver inferior results or hidden fees later on. Our transparent quotes break down costs clearly so you understand exactly where your investment goes. When you weigh cost against durability, finish quality, and time saved by professional installation, our pricing consistently represents excellent value.
Having the right price means little if the job isn’t done properly, which leads us directly into our skilled workforce.
Our team consists of drywall professionals who bring years of experience to each job site. Having worked on everything from small residential repairs to large commercial installations, they handle challenges efficiently while maintaining precision. Every crew member undergoes rigorous training emphasizing detail—the kind of expertise that turns rough walls into perfectly smooth canvases ready for paint or wallpaper. Deadlines are respected, messes minimized, and progress communicated clearly every step of the way in our guide to drywall installation.
“Mission Trueplane Drywall transformed our living room with their expert drywall services, ensuring everything was perfectly aligned with the drywall square. Their team was professional and efficient.” – Sarah K.
Credentials aside, what truly sets our workforce apart is pride in craftsmanship. We treat every home like it’s our own, ensuring each joint taping, mud application, and sanding pass is executed flawlessly. This attention makes a visible difference not just immediately after installation but long term when walls remain free of cracks and blemishes, thanks to the right drywall nails, techniques, and corner bead application.
If smooth finishes and stress-free projects matter most to you, Mission Trueplane Drywall offers a combination of reliability, skill, and honesty that’s hard to find elsewhere. It’s not just about getting drywall up—it’s about creating an enduring foundation for your space’s entire aesthetic and function.
Choosing Mission Trueplane Drywall means investing in lasting quality and peace of mind for your property. Let us help you realize your vision with the professionalism and care your space deserves.